fbpx

Installation of panels on felt, roof tiles, metal roofing tiles

Tematyka artykułu:

Installation on roofing paper
Installation on roof tiles
Installation on metal roofing tiles

Installing photovoltaic panels is constantly gaining popularity. And that’s good, after all, it is one of the ecological forms of obtaining electricity, and although the initial contribution to the entire investment may raise concerns, the cost is fully recovered within 8-10 years. In the perspective of paying for access to electricity from renewable energy sources for life, it’s probably not that much? Today we will discuss the issue of the roof surface on which panels can be mounted – felt, roof tiles and metal roofing tiles. The choice of surface is crucial for the fastening that should be used. First of all, the roof covering should have a safety certificate, which is why the panels should not be mounted on plexiglass, asbestos, ondulin, polycarbonate or wood.

Installation on roofing paper

Installation of panels is possible on most popular types of roof coverings, and the same applies to roofing felt, mainly found on flat roofs or roofs with a slight angle of inclination. Before installation, make sure that the panels are protected against weather conditions, e.g. by mounting them at an appropriate distance from lightning protection. Please remember that the roofing felt panels are mounted on special strips attached directly to the roof, so to avoid roof leakage, you should use special screws with gaskets. The advantage of mounting on roofing felt is greater ventilation, which directly affects the life of the panels and has a positive impact on the cooling process of the installation.

Installation on roof tiles

Ceramic tile is still a very popular type of roofing, however, it poses a bit more difficulty in installing a PV system, mainly because of the time it takes to do so. To install the panels on the tile, you will need accessories such as a tile hook or roof bracket. First of all, you need to locate where the roof rafters are and remove individual tiles to install the support structure. Directly to the rafters, with the help of screws (a minimum of 4 pieces), the roof bracket is fixed in the recess of the roof tile, which, after appropriate lining up, should be put back in place. Here it is worth remembering a few spare tiles, in case the material breaks during processing, which unfortunately happens quite often. To the attached brackets are mounted rails, on which, in turn, the center and end clamps are already directly attached to the panels at about 2 cm intervals.

Installation on metal roofing tiles

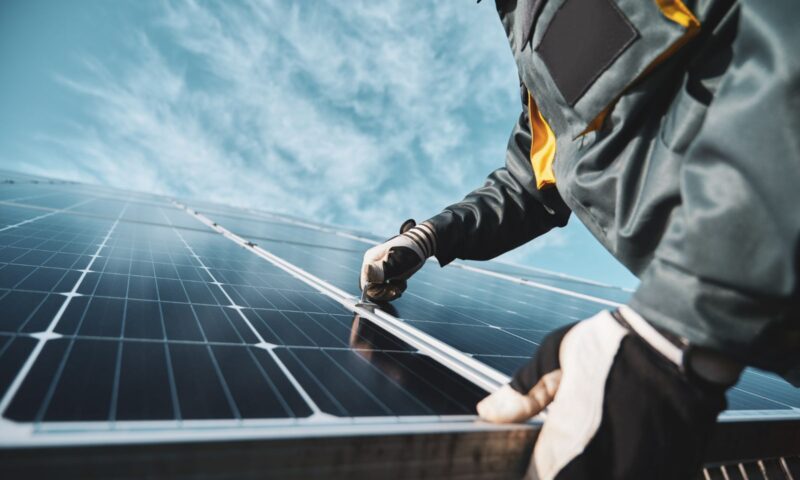
One of the easier types of installation due to the fact that although the rafters must be located in order to screw the structure into them, it does not require dismantling the covering. Drill holes are made directly in the metal roofing tile and double-threaded screws are inserted, which should contain gaskets to prevent roof leakage. In practice, apart from the standard gasket, silicone is sometimes used to additionally secure drilled holes. Then the adapter is mounted to which the aluminum rails are directly attached. After leveling the entire structure, the panels are mounted on the rails using clamps.

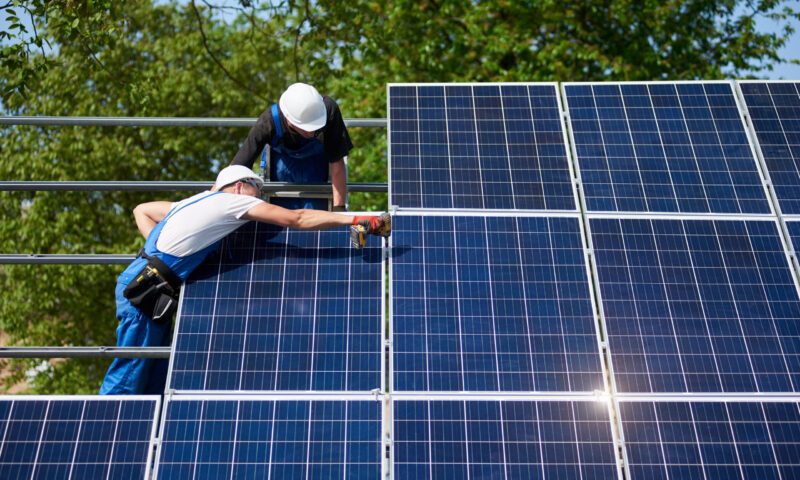
These three installation versions have one thing in common – after properly positioning the panels, you need to arrange the electrical installation and run the cabling to the inverter. Please also remember that the panels can be installed in two variants: horizontally and vertically. Horizontal installation, however, requires more supporting structures, which increases the price of the entire installation and increases its weight due to additional elements. For the same reason, horizontal installation requires slightly more time than vertical installation.

The method of mounting photovoltaic panels depends on the size and type of system used. Therefore, before installing photovoltaic cells, a detailed assembly diagram should be developed. For this purpose, you need an assembly manual that will be used to calculate the exact number of elements that the entire system should contain. Then it is necessary to plan the arrangement of each element. Importantly, the installations differ, so it is important where they are installed. Although it is obvious, we would like to remind you that after unpacking the self-assembly kit, check whether it contains all the required elements. When entering the roof and working with electricity, be sure to follow health and safety rules!